
I have just the loveliest post today from TNWC Real Bride Fern, who has not only made the most heavenly bird and wildflower inspired wedding stationery (and with my favourite brown craft card featuring!), but she has put together an easy-to-follow ‘how to’ guide for how she made the pretty envelopes. Plus she’s also shared details of how she created her different wedding stationery items.
I just know you are going to love this wedding stationery and it’s beautiful little details. If you are on the hunt for eco-friendly materials to make items for your wedding, do check out our DIY Resources section of the directory for a great selection of businesses that we love.
>> View Fern and Dominic’s woodland bird and country flower inspired wedding here <<
How to guide for pretty envelopes
It is always lovely to receive special parcels and post by mail, and wedding invitations can tell you so much about a wedding. Most of the weddings we have been to, couples have handmade their invitations and I never considered doing my invites any other way, but I really wanted my wedding invitations to have a wow factor as soon as they land through the letter box. So it was clear very quickly that I was going to make my envelopes as well.
I have included a ‘how to’ guide for making envelopes below, but I will tell you about my other stationary first.
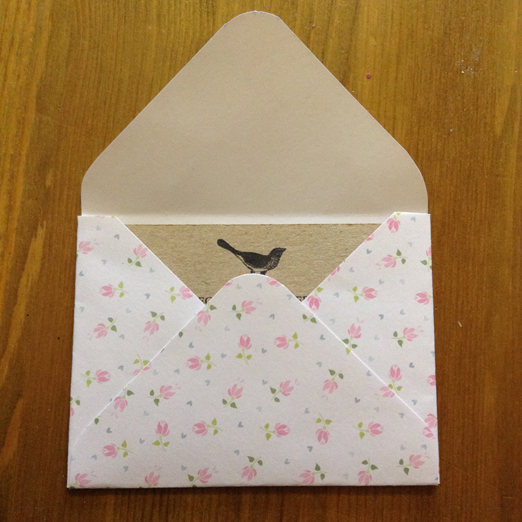
DIY Floral Envelopes

Full ‘how to’ guide below!
Invitations, save the dates and RSVPs
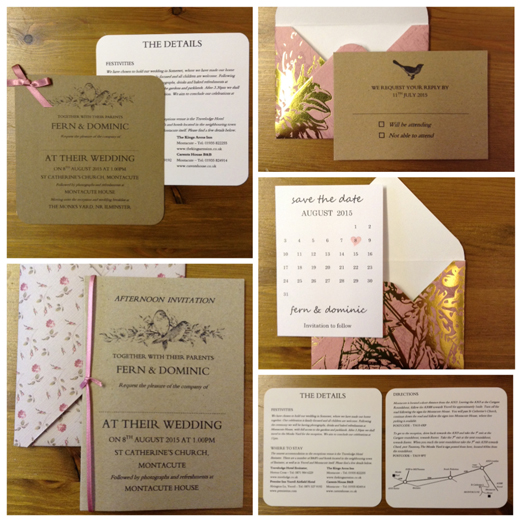
I designed all the stationary myself in Microsoft Publisher and Microsoft Word, inspired by my finds on Pinterest. As I had decided that my envelopes would hold lots of colour it meant that I could keep my invitations more simple.
The fonts were Segeo Script used for our names on the save the dates and the rest of stationary we only used Traditional Arabic but varied use in all capitals or italics. The save the dates I made in Publisher by using the layout guides to divide the page into 8. I did for the RSVPs in Word; it is do-able but a lot fiddlier. I printed them on A4 and then cut them up with a guillotine.
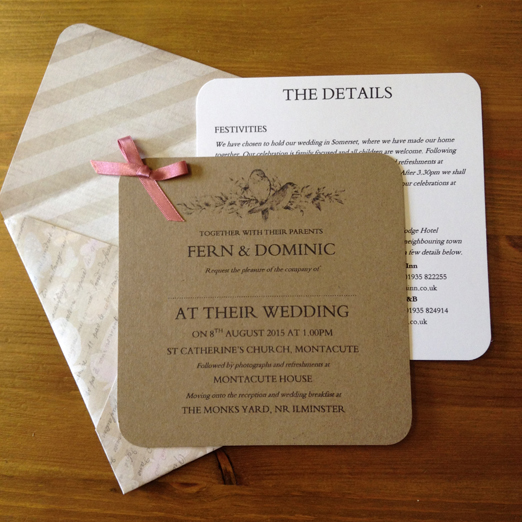
The card for the invitations I found in a local shop with 10 brown kraft and 10 white sheets in. The design of my invites was dictated by this and its size. These were designed in Microsoft Word by customising the page size, even the map on the details.
We decided to trim all the corners to tie in with the envelopes, hole punch and tie together with ribbon. I then also made an afternoon invitation in the same way by customising the page size to A5 and then putting amended details inside. I printed everything at home on my own printer. It has cost around £35 for everything, not including postage, but I still have things left over for other projects.
Handmade envelopes
I’m so delighted with these envelopes, particularly because I really wanted to use brown kraft card for my invitations but this gave a bit of colour as well. It gave us the chance to really show our bird and wildflower theme but you could use this with any wedding theme by changing the paper.

We used different sized papers for each of the stationary items: 6 inch square for our A7 sized save the dates and RSVPs, 8 inch square for our A6 sized afternoon invitations, and we bought 12 inch square but trimmed back to 10 inch for our invitations which are 15x15cm square. In total I made nearly 90 envelopes.
For the save the dates I used a mismatch of pretty paper that I already had, but for the invitations I used V&A Hanoverian papers for the afternoon invites and First Edition Botanical Notes for the full invites and RSVPs.
Envelope how to guide
You will need
- Square Patterned paper of your choice
- A piece of plain card the same size as your paper
- One of your Invites/Save the dates/RSVPs
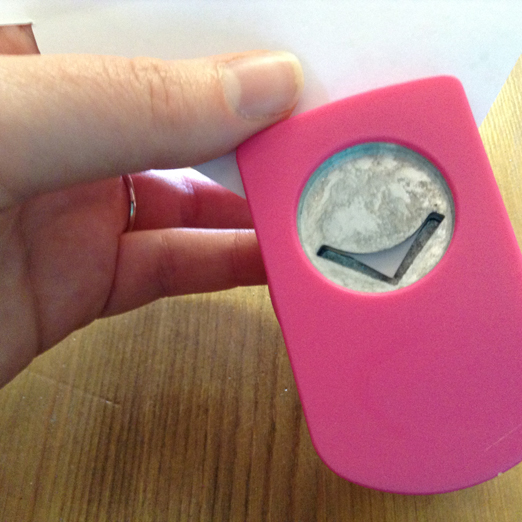
- A corner cutter punch
- Double sided craft tape
- A pen or pencil
- Scissors

The first thing to do is to make a template – this means your envelopes will be straight, the same size and to make sure everything fits inside (I made loads of wonky envelopes before figuring this out).
1. Fold the plain card corner to corner to give you the centre point and folded guide lines.

2. Use your invite or other item to work out where the folds of your envelope will be. Place your invite in the centre and fold your card in, matching up to the lines underneath to ensure your folds are straight. Start with the sides, then you can move your invite up and down to see how large you want the top flap of your envelope to be.

3. When you are happy with the template, open it out and write on which is the top and bottom. This step is very important.

4. Trim off your cross corners.
Now your template is ready to use. Your envelopes will all have to stretch over this template, so will be plenty big enough to hold your invite and extras with ease. Check to see if your paper has a right way up and decide which will be your top corner.
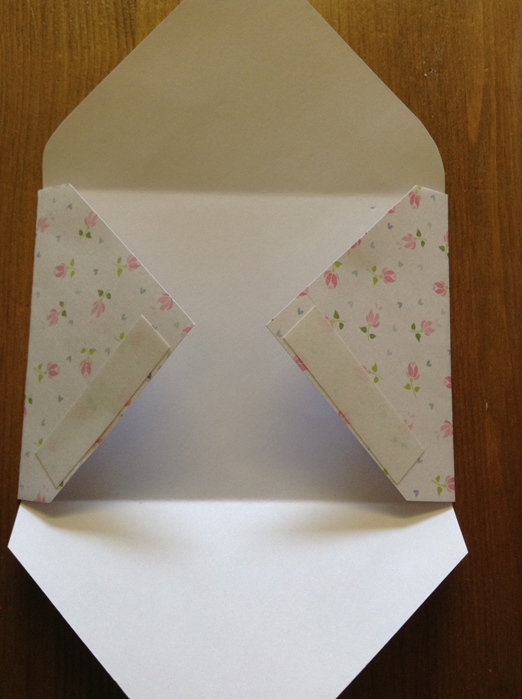
5. Use the template with your paper; fold in the sides first, matching up again the corners of your paper with the folded guidelines to make sure your folds are straight.

6. Remove the template. With the scissors, cut off all the cross corners inside the fold lines to give you a neat finish. You can round off the pointy sides on your envelope top flap as well.

7. Use your corner trimmer on the top and bottom flap. Tip: turn it over and use upside down, and then you can see what you are doing.
8. Use the double-sided tape to attach the sides on the lower edge to the bottom flap of your envelope.
Your envelope is now complete!
To address the envelope I would recommend printing the addresses onto stickers so it is clear. Depending on the weight of your paper you can use a pretty sticker or double sided tape to seal it closed, once filled of course, or you could use glue if you are feeling brave.
>> View Fern and Dominic’s woodland bird and country flower inspired wedding here <<

, but she has put together an easy-to-follow ‘how to’ guide for how she made the pretty envelopes. Plus she’s also shared details … Continued)
Categories: Planning
Tags: bird themed > brown card > DIY project > eco-friendly > envelopes > floral > handmade wedding > real bride Fern > tnwc real brides > wedding stationery