How to make a red gingham pageboy bow tie for your rustic country wedding
Samantha
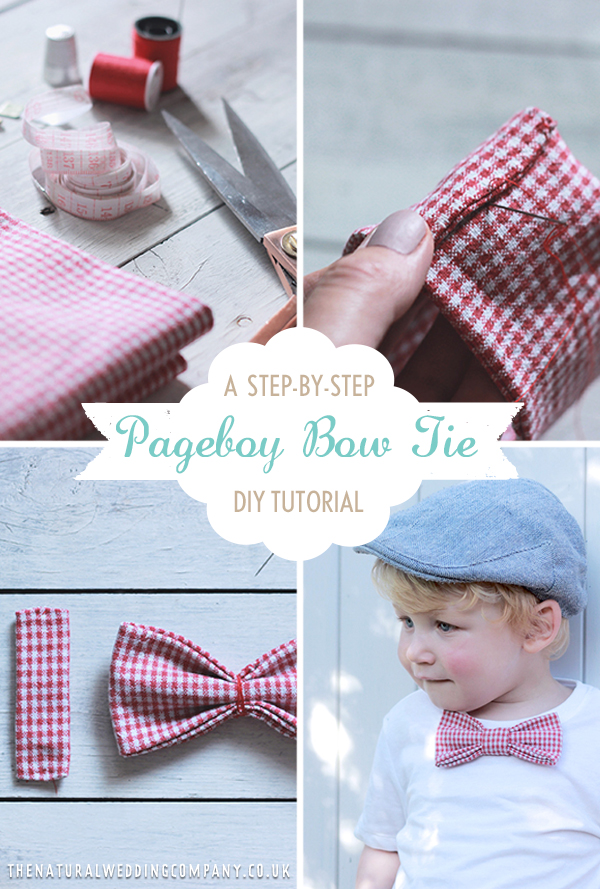
Today I have created a lovely and simple pageboy bow tie DIY tutorial. Being a mama to a little boy I sometimes find the outfit choices a little limiting compared to the options for girls. For a celebration however I don’t think there is anything more adorable than a boy in a bow tie – paired with some braces, a flat cap, or blazer you can’t really go wrong.
These bow ties are so simple and easy they would be perfect to make for little pageboys, and the advantage of making them yourself is you can choose any fabric that compliments the rest of your wedding party. I chose a red gingham fabric but you could choose any kind.
The tutorial today has been adapted from one by Slow Mama which I used a couple of years back when my little one was a baby. Now he’s a little older I made a couple of small changes to suit a family wedding we had this summer. You really don’t need to be a pro seamstress to make one, I am most definitely not!
What you need to create a pageboy bow tie

What you will need:
- Fabric (at least 25cm x 20cm)
- Complimentary thread & needle
- Sewing machine (optional)
- Scissors (material scissors preferable)
- 2 x small safety pins
- Tape measure
- Iron (optional but helpful)
Making your pageboy bow tie

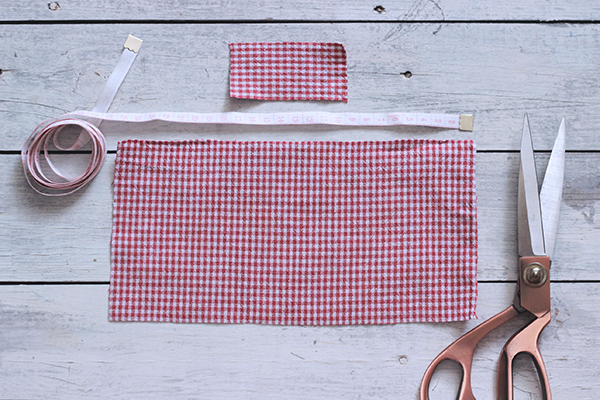
Step 1 – Cut the fabric
Cut the two pieces of fabric required to make the bow tie:
- Piece 1 – 25cm x 12cm
- Piece 2 – 8cm x 4cm
As my fabric was chequered it was easy to follow the lines. If you are not confident in cutting the right sizes in a straight line, make the templates out of paper/newspaper first and trace onto the fabric.